

Vehicle Builds
Suspension and Lift for a Fully-Loaded Overlander: Getting It Right
How to set up suspension and lift for a fully-loaded overland build - matching springs to payload so your rig rides right.
The single most important rule of overland suspension is to set it up for your vehicle's fully-loaded expedition weight, not its empty kerb weight, because a rooftop tent, fridge, water, fuel and gear can add 250-400 kg that crushes stock springs and ruins the geometry. The right setup is usually a modest 40-50mm lift using springs or leaf packs rated for your actual loaded weight, paired with quality shocks valved to control that mass. Going too tall or fitting soft springs that sag under load is the classic mistake. Get the spring rate right first, the shock damping second, and the lift height third - in that order - and your loaded rig will ride level, steer true and survive corrugations from Spiti to the Northeast.
Why does payload change everything about suspension?
Because a fully-loaded overlander is a different vehicle from the one that left the showroom. Add a 60 kg rooftop tent and rack on the roof, a 30 kg fridge, 40 litres of water, jerry cans of fuel, recovery gear and two people's kit, and you can easily pile on 250-400 kg, much of it high up and toward the rear. Stock springs designed for an empty vehicle sag under this, dropping your ride height, slamming your bump stops on every pothole, pointing your headlights at the sky and wrecking the handling. The roof load also raises the centre of gravity. Suspension that ignores this is unsafe; suspension matched to the load restores ride height, control and clearance.
How much lift do you actually need?
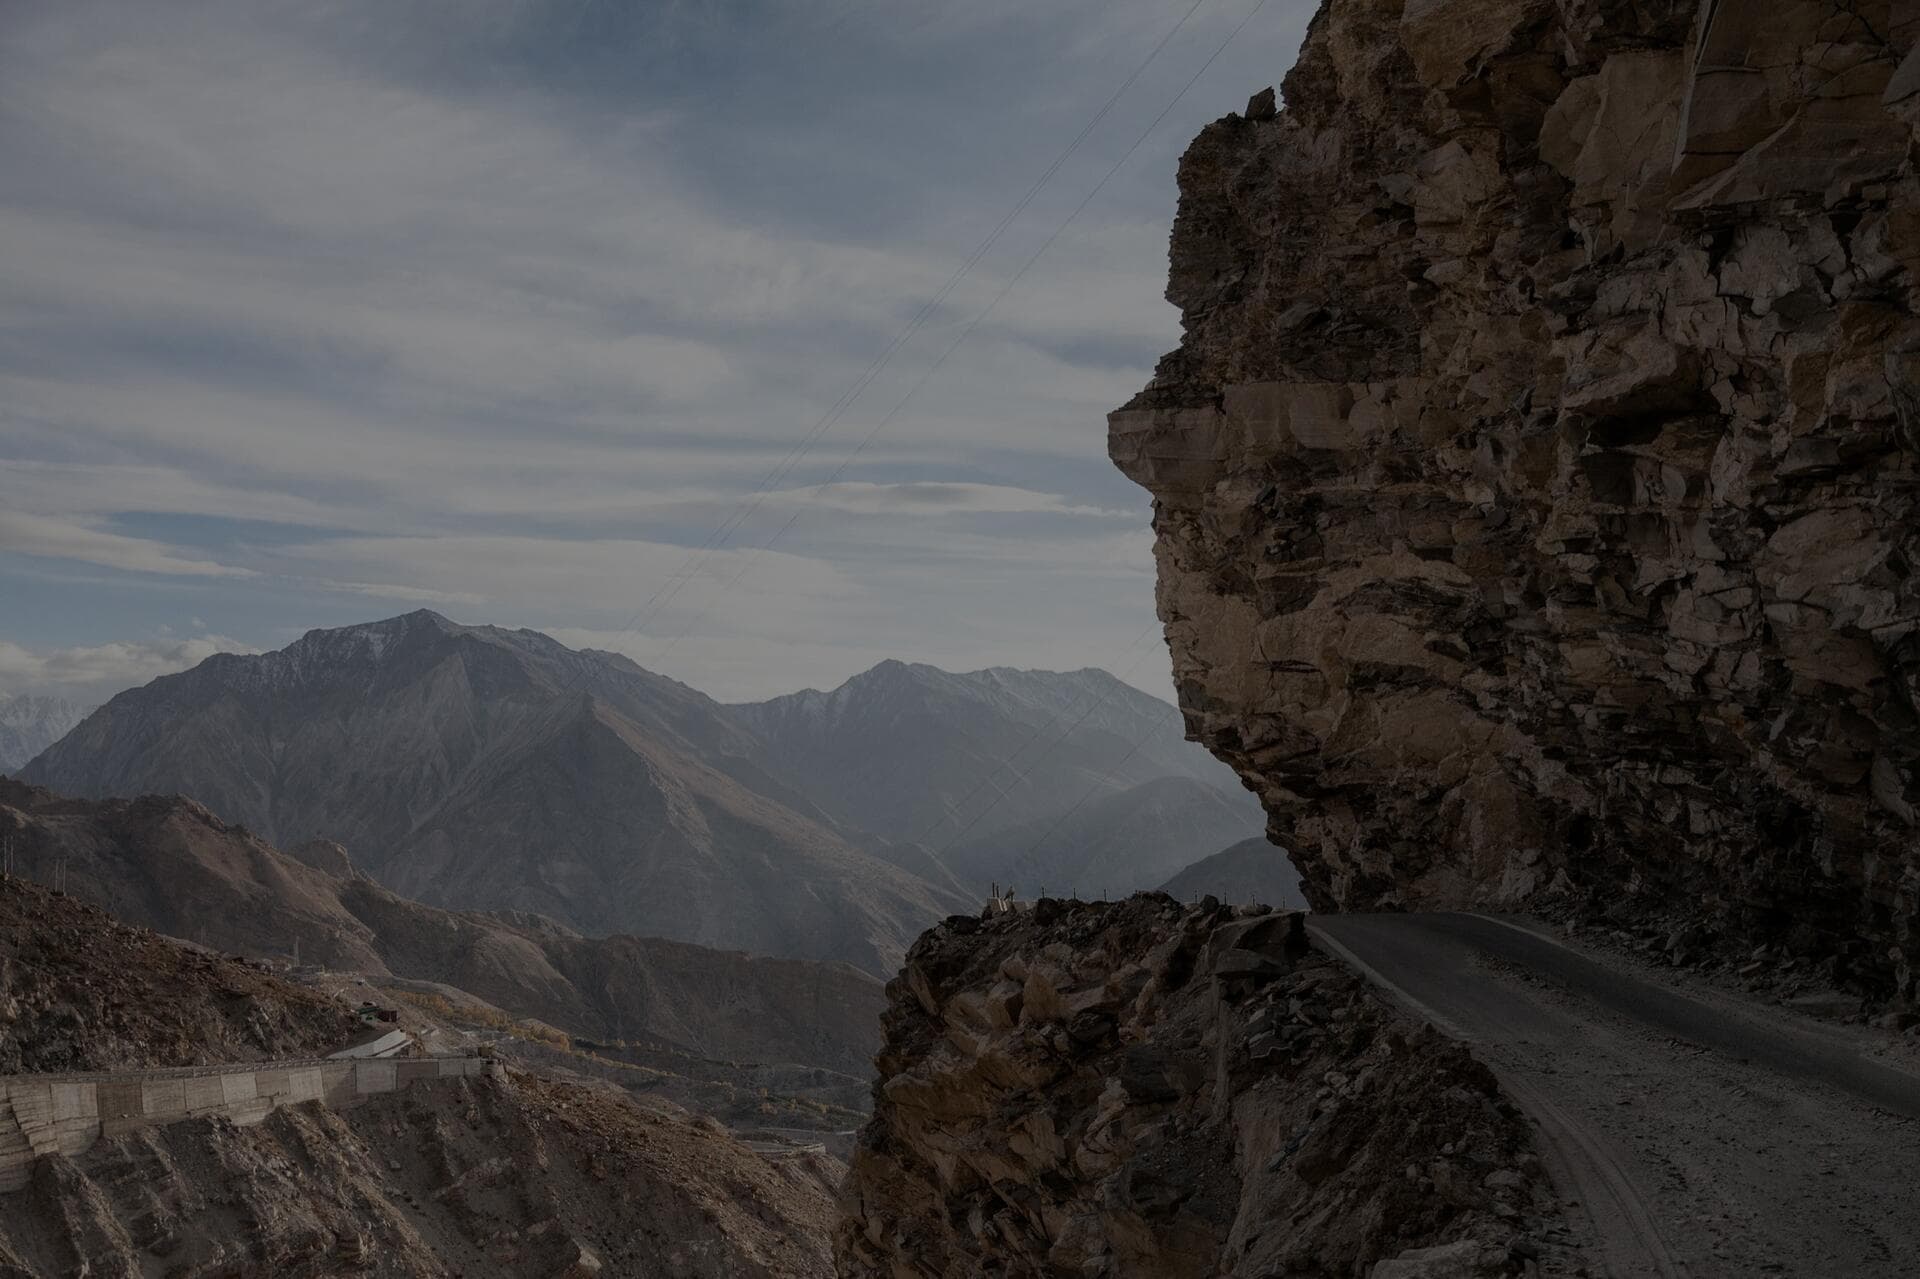
Less than you think. For almost every Indian overland build, a 40-50mm (1.5-2 inch) lift is the sweet spot. It clears larger all-terrain tyres, restores the ride height lost to your gear, and improves approach, departure and breakover angles - all without the problems that come from going tall. Big lifts beyond 50mm introduce steep CV and driveshaft angles, vibration, and a higher centre of gravity that makes a loaded vehicle tippy exactly when you least want it. The goal of an overland lift is capability and load support, not show-stand height. Restraint here makes your rig faster, safer and more reliable across a long expedition. On a single-lane Spiti shelf road with a long drop on one side, the last thing you want under a loaded rig is the extra lean that an unnecessary 75mm of lift hands you.
- 40-50mm lift covers tyre clearance and load support for nearly every Indian overlander.
- Beyond 50mm brings CV and driveshaft angle problems, vibration, and a tippier loaded rig.
- Lift is the third priority - get spring rate and damping right first.
- Match the lift to a real, weighed loaded weight, not a guess.

Springs or leaf packs: how do you match them to load?
This is the heart of the job. For coil-sprung vehicles like the Thar or Scorpio-N, choose springs in a rate matched to your typical loaded weight - many makers offer light, medium and heavy-load coils, and an overlander who always carries a tent and fridge usually wants the medium or heavy option, not the soft one. For leaf-sprung rear ends like the Hilux, fit a leaf pack or add-a-leaf rated for a constant load, so the rear sits level when fully kitted rather than sagging. The test is simple: load the vehicle exactly as you would for an expedition, and it should sit close to level at your target ride height. If the rear squats, your spring rate is too soft.
What tyres go with this, and at what pressures?
Suspension and tyres are one system, not two, so it is worth saying what rides on a 40-50mm lift. On a Thar most overlanders run an all-terrain around 235/75 R15 or a 33-inch equivalent; on a Hilux or Fortuner something in the 265/65 or 265/70 R17 range is common. The modest lift is sized precisely to clear those without rubbing at full stuff. Pressures matter as much as size on the loaded rig: run highway pressures on tarmac, then air down for the terrain - roughly 18 to 22 psi on rock and broken trail, lower still in soft sand, and back up before you return to tarmac. A loaded overlander on correct tyres at the right pressure, riding on springs matched to its weight, is a transformed vehicle on a corrugated Ladakh road compared to a stock setup pounding along at full highway pressure.
I weigh a customer's rig fully loaded before I quote a single spring. Most people are shocked how much a rooftop tent, water and recovery gear add - then they understand why their old setup bottomed out on every Spiti water bar. Build the suspension for the loaded truck and it transforms.

Why do shocks matter as much as springs?
Springs hold the weight; shocks control how that weight moves. A loaded overlander pounding down a corrugated Ladakh road generates enormous heat in the dampers, and cheap shocks fade - they overheat, lose control, and let the vehicle wallow and bounce dangerously. Quality twin-tube or monotube shocks, ideally with larger bodies that shed heat, valved for your loaded weight, keep the tyres planted and the body controlled over sustained rough surfaces. This is why a matched kit - springs and shocks designed to work together for your load - beats mixing a random lift spring with a stock or bargain shock. On long corrugations, damping quality is a safety feature, not a luxury. The classic failure is a hot shock fading on the washboard approach to a pass: the rig starts to float and skip, the tyres lose contact with the surface in rhythm with the corrugations, and grip and steering go vague exactly where you need them most.

What supporting parts does a loaded lift need?
A lift on a loaded vehicle does not live in isolation. Depending on the platform and height, you may need extended or adjustable components to keep geometry correct: longer bump stops or correctly retained ones, brake-line brackets or extensions so nothing pulls tight at full droop, corrected castor on solid-axle vehicles to keep the steering stable, and sometimes adjustable control arms or a panhard rod to re-centre the axle. Skipping these is how people end up with a lifted rig that tramlines, wears tyres oddly or has a vague, darting steering feel. Treat the lift as a system, and address the geometry the lift disturbs.
- Matched springs and shocks rated for your loaded weight - the core of the system.
- Corrected castor and, on some rigs, adjustable control arms or a panhard rod to re-centre the axle.
- Brake-line and breather provisions so nothing pulls tight at full suspension droop.
- Bump stops set correctly to protect the shocks and prevent metal-to-metal slamming.
How do you keep the rig level and safe day to day?
Once the suspension is matched, manage the load itself. Keep the heaviest items - water, fridge, recovery gear - low and centred between the axles, not piled on the roof, because roof weight punishes handling far more than floor weight. Respect your roof rack's dynamic load limit when mounting a rooftop tent. Periodically check ride height when loaded; if it has dropped over time, your springs may be tiring. And re-aim your headlights after a lift and a load change so you are not blinding oncoming traffic on the night drive to Manali. Good suspension is set once and then maintained, not fitted and forgotten.
A pre-trip suspension check
Before a big expedition, walk around the loaded rig and run a short check, because the suspension is doing the hardest work of any system on a long mountain trip and a problem found in your driveway is free while the same problem found past Karu is not.
- Load the rig exactly as for the trip and check it sits level at your target ride height - a squatting rear means soft springs.
- Look for shock oil weeping or leaks, and feel each shock body after a test drive: a dead-cold shock among warm ones can mean it has failed.
- Check bushes, mounts and U-bolts are tight, and that brake lines and breathers have slack at full droop.
- Confirm tyre clearance with the rig loaded and the wheels turned lock to lock - no rubbing at full stuff.
- Re-aim the headlights for the loaded, lifted stance so you can see the road and not dazzle oncoming drivers on night transits.
Frequently Asked Questions
Can I just fit a taller lift to get more clearance for free?
No - height without matched spring rate and damping makes a loaded rig unstable and introduces driveline angle problems. Gain real clearance through correct tyres and a modest matched lift, not by chasing height. A 40-50mm lift on the right tyres clears far more than the number suggests because the bigger rubber does much of the work.
How do I know if my springs are too soft for my load?
Load the vehicle exactly as for an expedition and look at the ride height: if the rear squats noticeably or you bottom out on bumps, the spring rate is too soft for your payload and needs upgrading. A level stance under full load at your target height is the goal, and anything that sags toward the bump stops is a warning.
Do I need to re-aim my headlights after lifting?
Yes. A lift and a heavy rear load change your headlight angle, often pointing them upward. Re-aiming is a quick, important safety step so you can see the road and not dazzle oncoming drivers on night transits. It is easy to forget and genuinely dangerous to skip on a dark Manali-Leh run.
Is an air suspension or airbag helper worth it for overlanding?
Airbag helpers in the rear can be useful for variable loads, letting you firm up when fully kitted and soften when empty. They complement a good spring setup but are not a substitute for getting the base spring rate right. If your load changes a lot between trips, helper bags are a sensible addition on top of correct springs, not instead of them.
Put it into practice
Building your own rig? Start with the kit that earns its place first.